This post is also available in:
![]() Deutsch (German)
Deutsch (German)
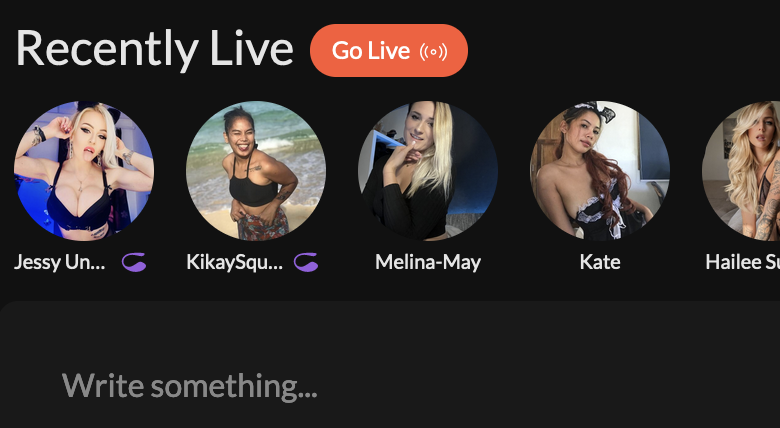
You can simply visit the homepage or the “new post” page and click on the orange button “Go Live”.
You will be redirect to the live stream page with your room settings.
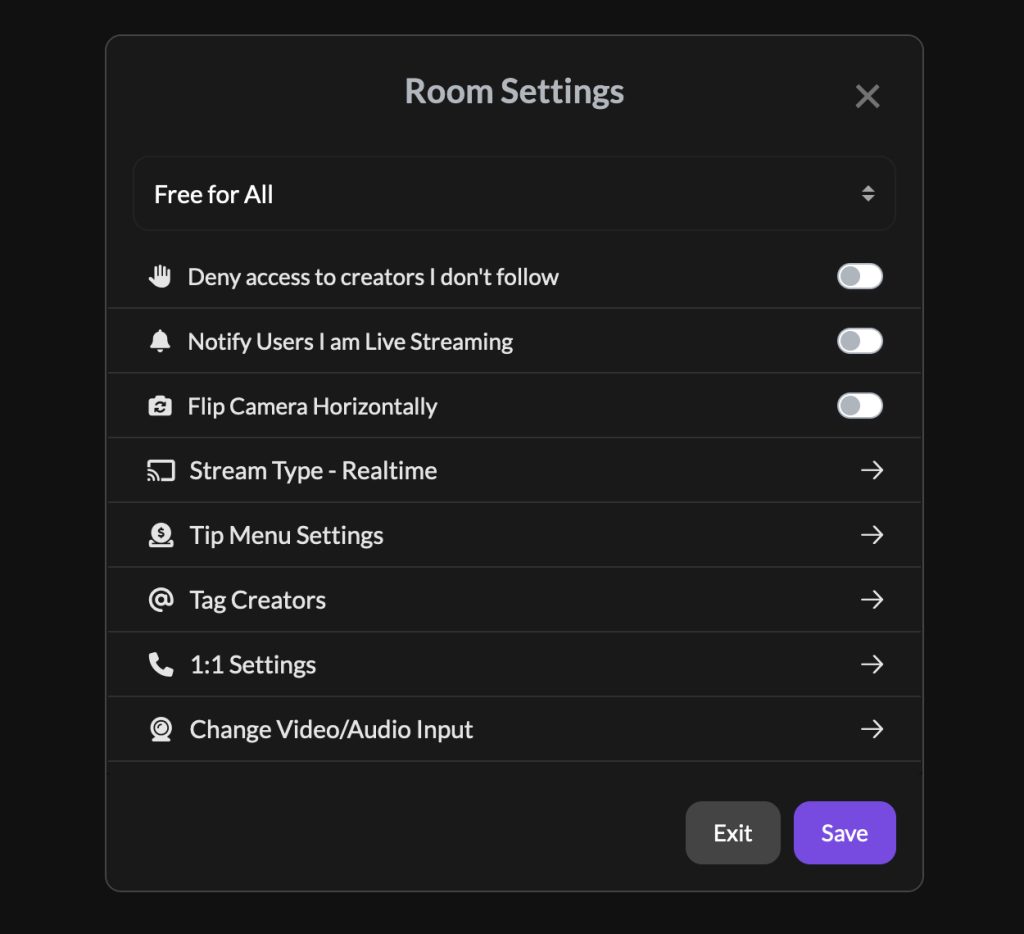
Room Settings #
Here you can go Live with the following settings:
- Free for all Users – Anyone can join for free (You can exclude other Creators you do not follow)
- Only for Subscribers – Only Fans that subscribed can watch your stream
- Price Per Minute – Anyone will have to pay a price per minute
- Ticket Show – Charge a one-off fee for the whole show/stream
Please make sure to tag other creators and or co-creators if you stream. For more info, please check our terms. It is NOT ALLOWED to stream with people that are not a verified creator or co-creator.
Additionally, you can:
- Deny access to creators that you don’t follow (Free Mode)
- Notify Users that you are Live Streaming
- Flip the Camera Horizontally
- Add / Edit your Tip Menu
- Tag Co-Creators, if you are going Live with someone else
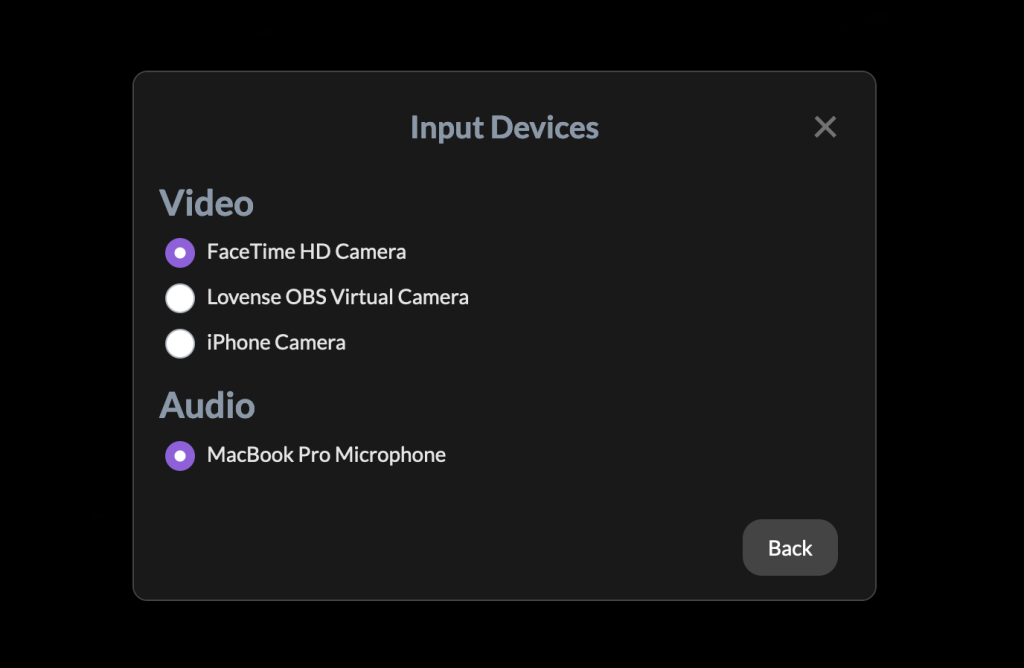
- Change the Video/Audio Input device (For example if you want to use the back camera of your iPhone, or choose a Virtual Camera via OBS, XSplit, etc)
Change Video/Audio Input #
Click “Save”. You should now see your own video and a button on top saying “Go Live”. Click that and your Live Stream will start.
Streaming with OBS / XSplit #
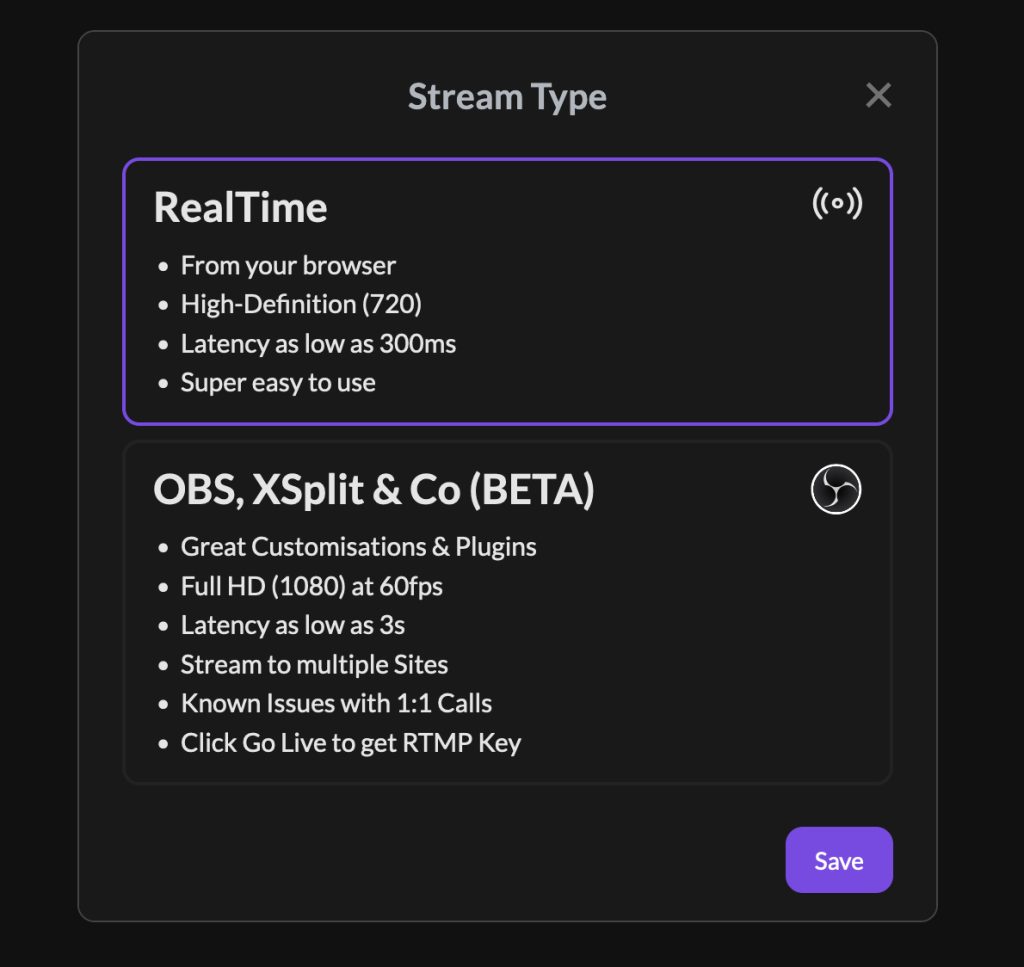
Alternatively, you can stream using OBS (Open Broadcaster Software). This allows for higher frame rates and improved resolution, providing a more polished visual experience. However, keep in mind that this setup may introduce higher latency (delay) compared to real-time streaming directly through our platform.
For comparison:
- Real-time streaming (via Web-Browser) prioritizes low latency, ensuring your audience receives near-instant interaction, ideal for live Q&A or gaming sessions.
- OBS streaming focuses on video quality, offering greater customization and control over your broadcast settings but with a trade-off in responsiveness.
Choose the option that best suits your content and audience needs!
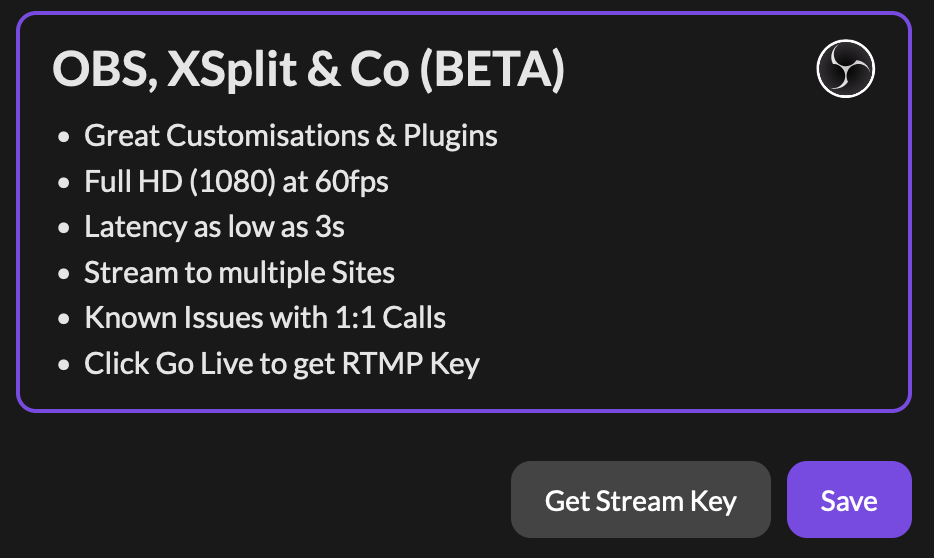
To get your stream key, select OBS and click Get Stream Key.
Setup OBS with your Stream Key #
You can either use the Auto-Configuration Wizard or set up OBS manually.
Automatic Setup (Auto-Configuration Wizard) #
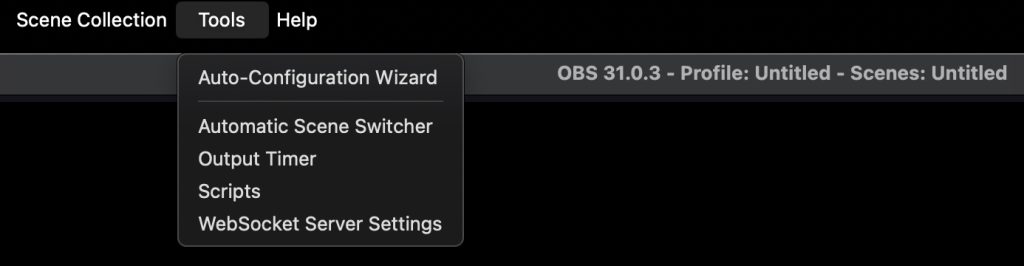
In this guide, we’ll show you how to setup OBS with the Auto-Configuration Wizard:
- Click Tools > Auto-Configuration Wizard
- Follow the settings on the screenshot:
- Select Optimise for streaming, recording is secondary
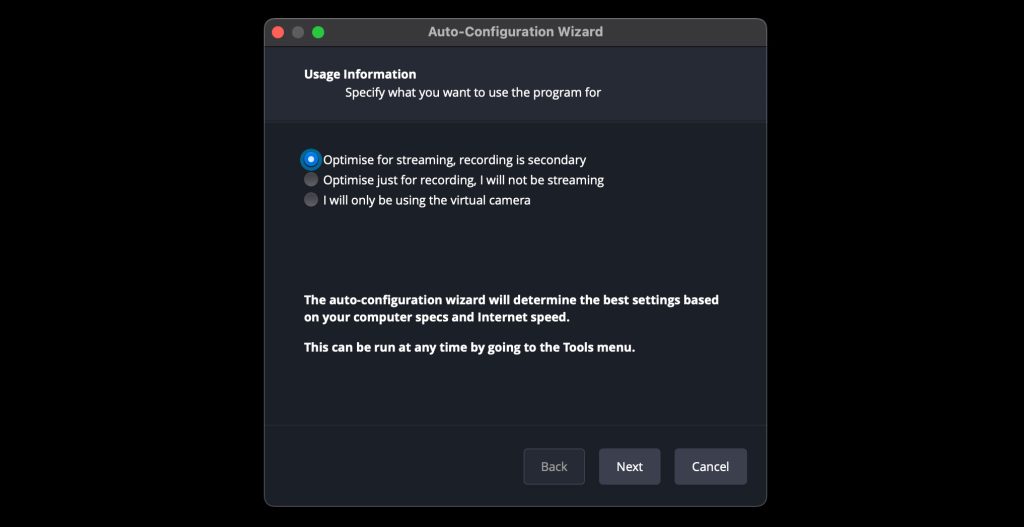
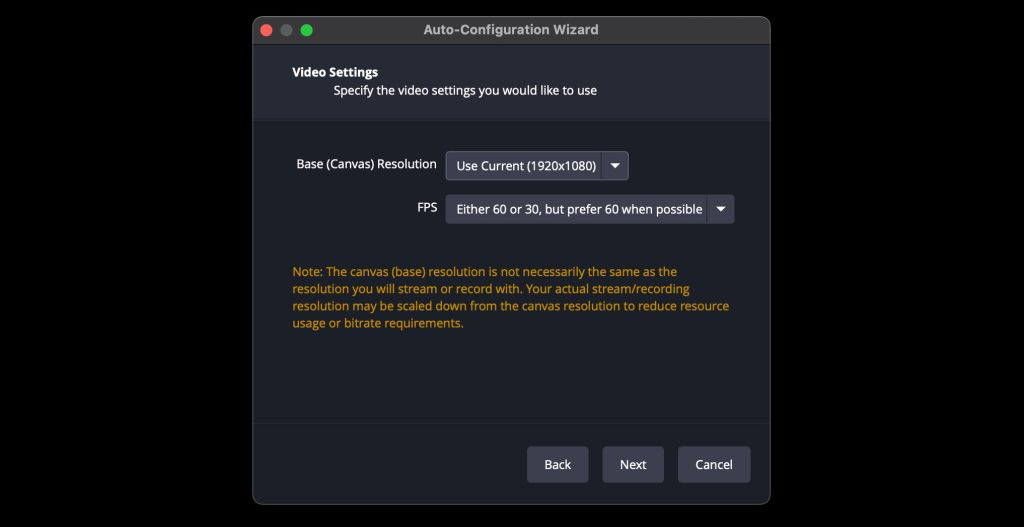
- Leave settings as they are in the screenshot, or reduce to 30fps if your connection is not the best
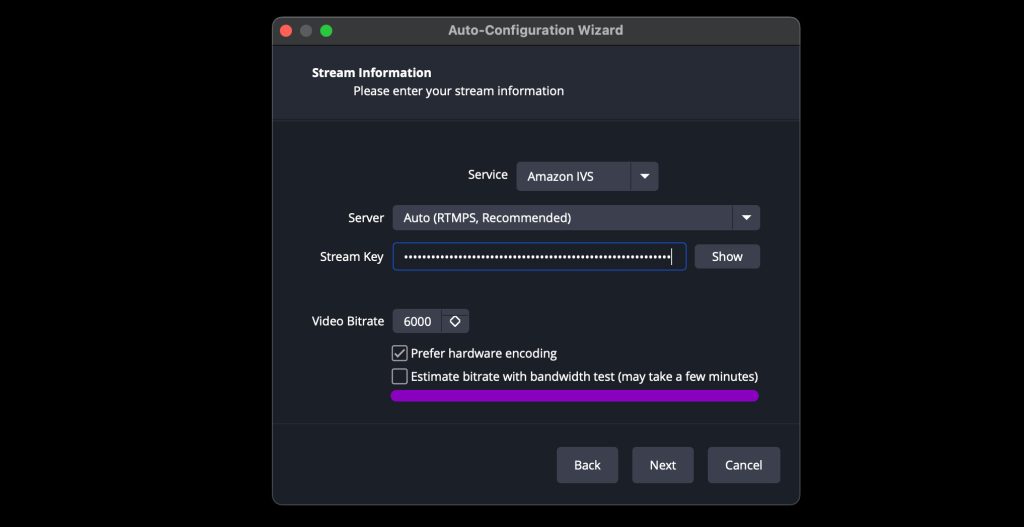
- Set the Service to Amazon IVS (Preferred)
(Alternatively you can use Custom and enter the following server URL:
rtmps://b23877c568b6.global-contribute.live-video.net:443/app/) - Copy and paste your personal Stream Key into the designated field, as shown in the screenshot
- DO NOT tick Estimate bitrate with bandwith….
- Enter Video Bitrate to maximum of 8500 (click here for infos on bitrates)
Manual Setup #
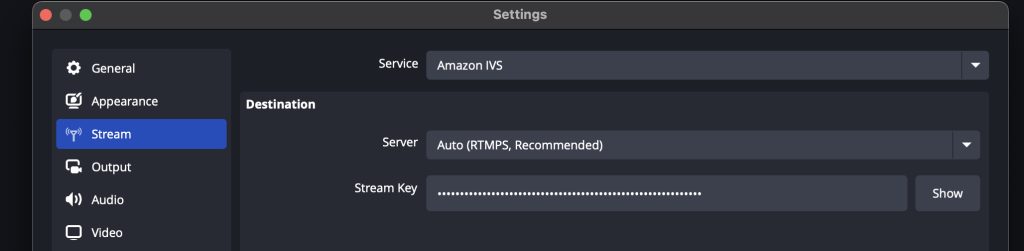
Set up Live-stream manually by going to Preferences > Stream:
- Set the Service to Amazon IVS (Preferred)
(Alternatively you can use Custom and enter the following server URL:
rtmps://b23877c568b6.global-contribute.live-video.net:443/app/) - Copy and paste your personal Stream Key into the designated field, as shown in the screenshot.
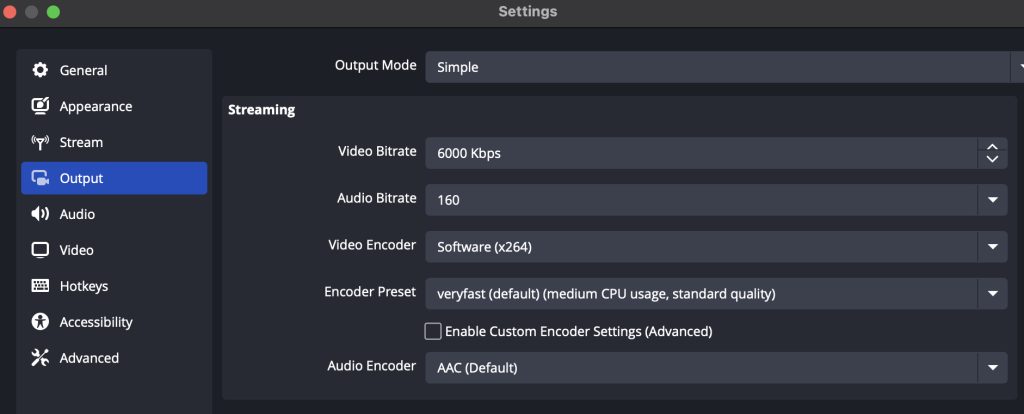
Now click Output in the menu. Depending on your connection and upload speeds, you can set the following Video Bitrate.
720p Streaming (Low Quality – Weak Connections) #
- Bitrate: 2500–3000 kbps
1080p Streaming (High Quality – Good Connections) #
- Bitrate: 6000–8500 kbps
- DO NOT go higher than 8500kpbs as this may cause connection drops
Setup SplitCam with your Stream Key #
In this guide, we’ll show you how to enter your Stream Key into SplitCam:
- Open SplitCam
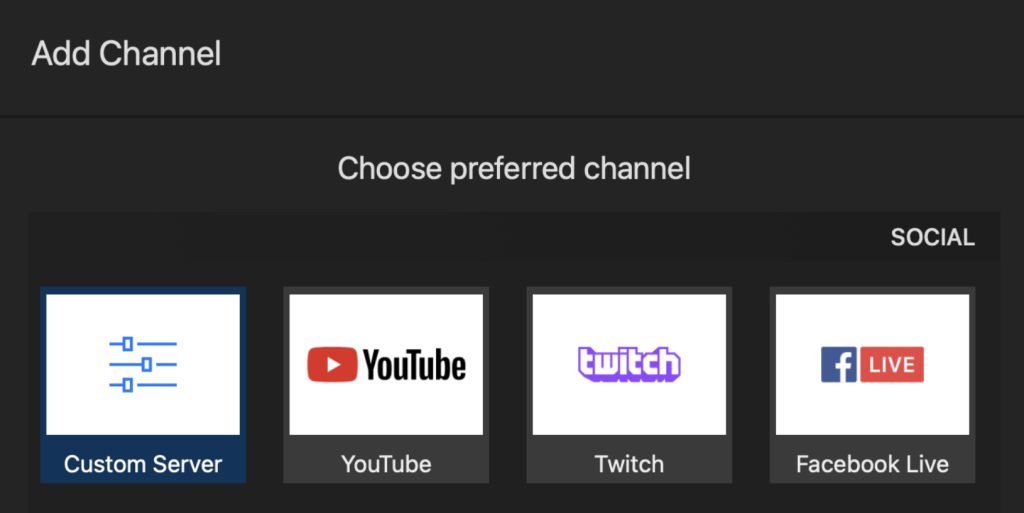
- Click Stream Settings on the top right and select Add Channel
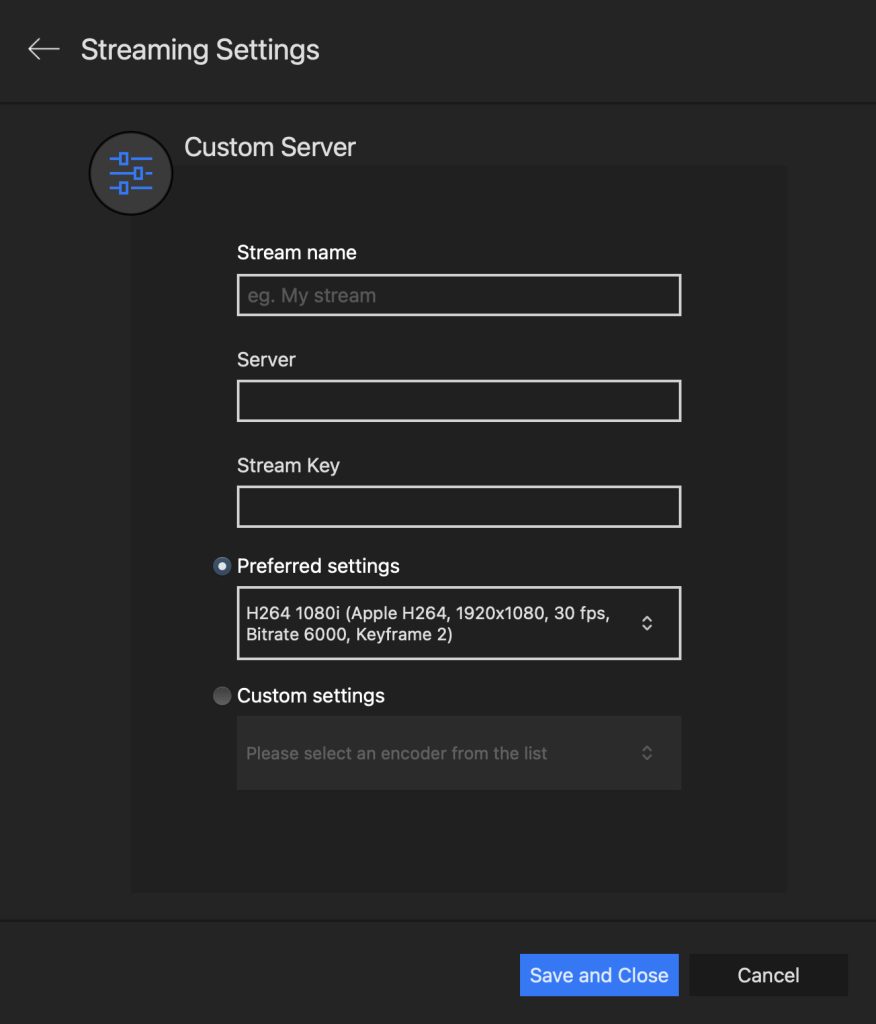
- Enter your Stream name and Server and enter the following server URL:
- rtmps://b23877c568b6.global-contribute.live-video.net:443/app/
- Enter your Stream Key and leave your Preferred settings